> ## Documentation Index
> Fetch the complete documentation index at: https://futureagi.mintlify.site/llms.txt
> Use this file to discover all available pages before exploring further.
# Quickstart
> Get started with annotations in 5 minutes -- create a label, set up a queue, add items, and start annotating.
## What you will do
In this walkthrough you will create an annotation label, set up a queue, add traces to it, and annotate your first item. The entire flow takes about 5 minutes.
Navigate to **Annotations** in the left sidebar, then open the **Labels** tab. Click **Create Label**.
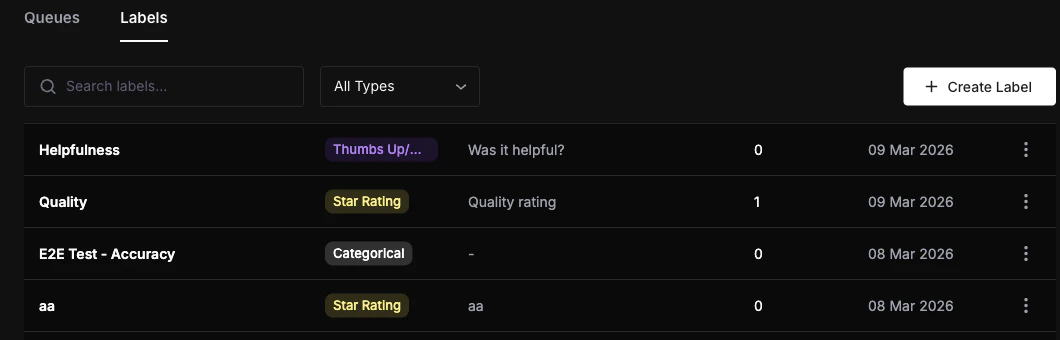 Fill in the form:
| Field | Value |
| ----------- | --------------------------------- |
| Name | `Sentiment` |
| Type | Categorical |
| Options | `Positive`, `Negative`, `Neutral` |
| Allow Notes | Enabled |
Click **Create** to save.
Fill in the form:
| Field | Value |
| ----------- | --------------------------------- |
| Name | `Sentiment` |
| Type | Categorical |
| Options | `Positive`, `Negative`, `Neutral` |
| Allow Notes | Enabled |
Click **Create** to save.
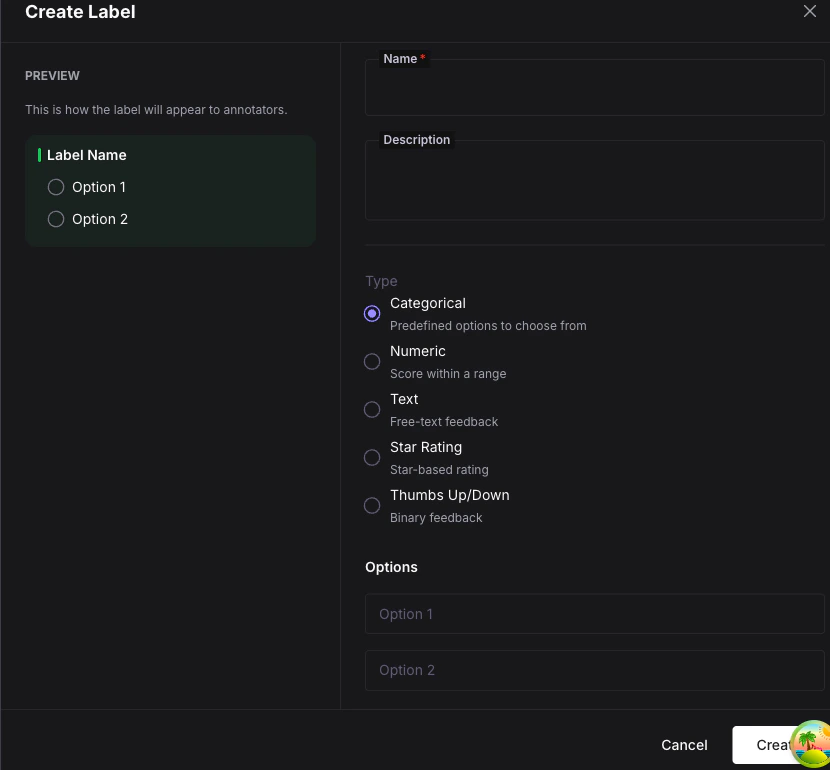 Switch to the **Queues** tab and click **Create Queue**.
| Field | Value |
| -------------------- | --------------------------------------------- |
| Name | `Review Queue` |
| Labels | Select the `Sentiment` label you just created |
| Assignment Strategy | Round Robin |
| Annotators | Add yourself |
| Annotations Required | 1 |
Click **Create** to save the queue.
Switch to the **Queues** tab and click **Create Queue**.
| Field | Value |
| -------------------- | --------------------------------------------- |
| Name | `Review Queue` |
| Labels | Select the `Sentiment` label you just created |
| Assignment Strategy | Round Robin |
| Annotators | Add yourself |
| Annotations Required | 1 |
Click **Create** to save the queue.
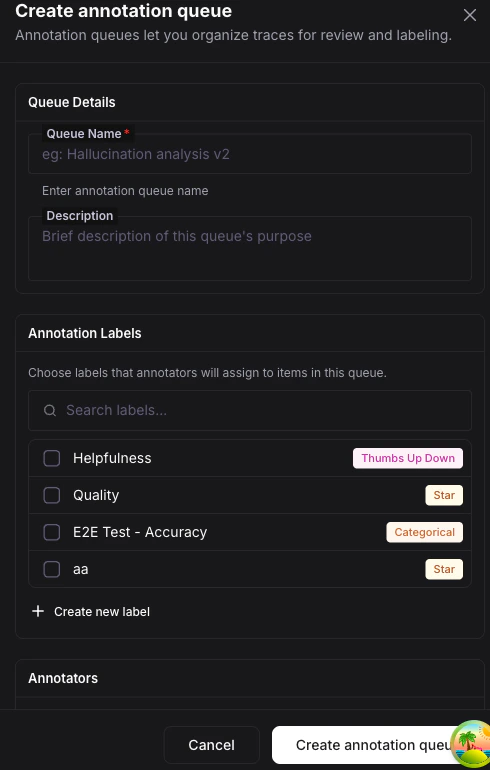 Go to your **Observe** project and open the **LLM Tracing** view. Select one or more traces using the checkboxes, then click the **Add to Queue** button in the toolbar.
In the dialog, choose **Review Queue** and confirm. The selected traces are now queue items with a **Pending** status.
Go back to **Annotations > Queues** and click on **Review Queue** to open its detail page. Click **Start Annotating**.
The annotation workspace loads the first pending item. You will see:
* The trace content on the left.
* The annotation panel on the right with your `Sentiment` label.
Select an option (e.g. **Positive**), optionally add a note, and click **Submit**.
Go to your **Observe** project and open the **LLM Tracing** view. Select one or more traces using the checkboxes, then click the **Add to Queue** button in the toolbar.
In the dialog, choose **Review Queue** and confirm. The selected traces are now queue items with a **Pending** status.
Go back to **Annotations > Queues** and click on **Review Queue** to open its detail page. Click **Start Annotating**.
The annotation workspace loads the first pending item. You will see:
* The trace content on the left.
* The annotation panel on the right with your `Sentiment` label.
Select an option (e.g. **Positive**), optionally add a note, and click **Submit**.
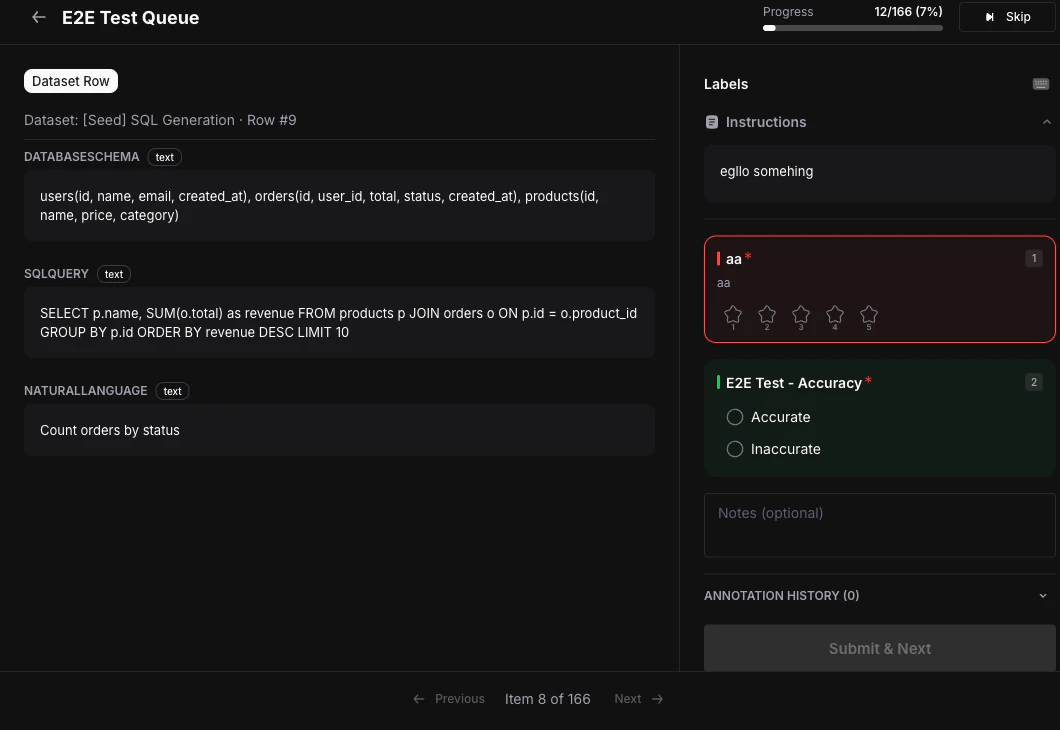 The workspace automatically advances to the next item. You can also click **Skip** to move past an item you cannot annotate.
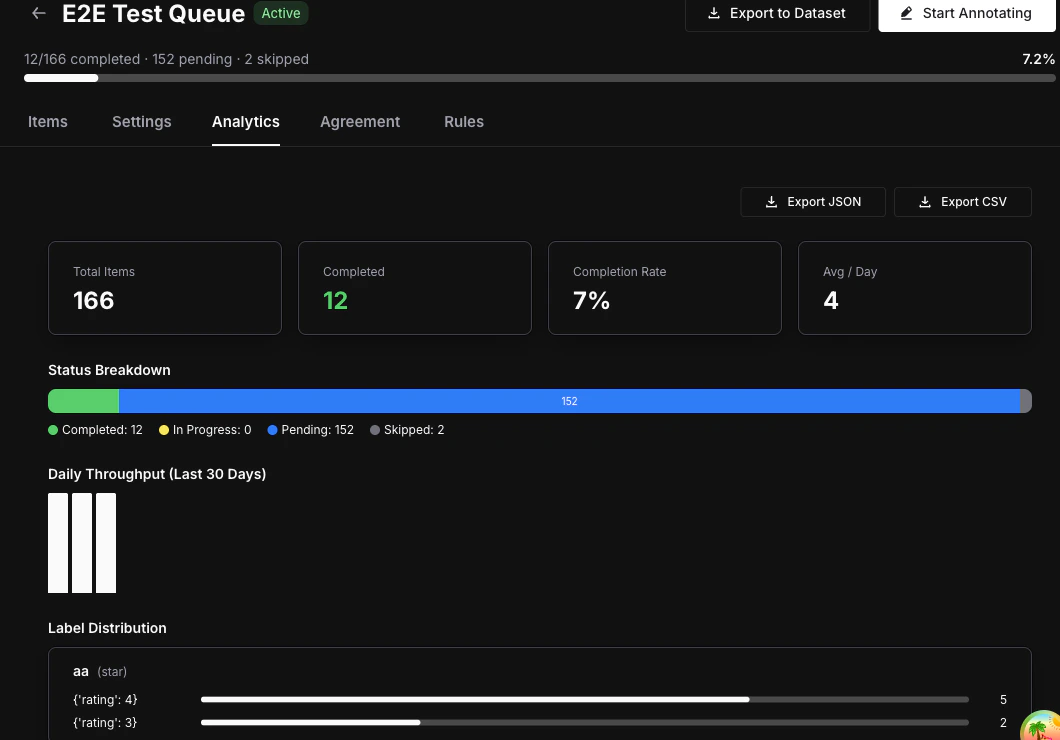
Click the **Analytics** tab on the queue detail page to see completion rates, annotator activity, and label distribution.
The workspace automatically advances to the next item. You can also click **Skip** to move past an item you cannot annotate.
Click the **Analytics** tab on the queue detail page to see completion rates, annotator activity, and label distribution.
 **Keyboard shortcuts** speed up annotation significantly:
* **Ctrl+Enter** (or Cmd+Enter) -- Submit the current annotation
* **1-9** -- Select a categorical option by its position
* **S** -- Skip the current item
## What you can do next
Explore all five label types and their configuration options.
Configure assignment strategies, multi-annotator requirements, and review workflows.
Understand how annotation data is stored and queried via the Score model.
**Keyboard shortcuts** speed up annotation significantly:
* **Ctrl+Enter** (or Cmd+Enter) -- Submit the current annotation
* **1-9** -- Select a categorical option by its position
* **S** -- Skip the current item
## What you can do next
Explore all five label types and their configuration options.
Configure assignment strategies, multi-annotator requirements, and review workflows.
Understand how annotation data is stored and queried via the Score model.