Using SDK
Import your data using Future AGI SDK.
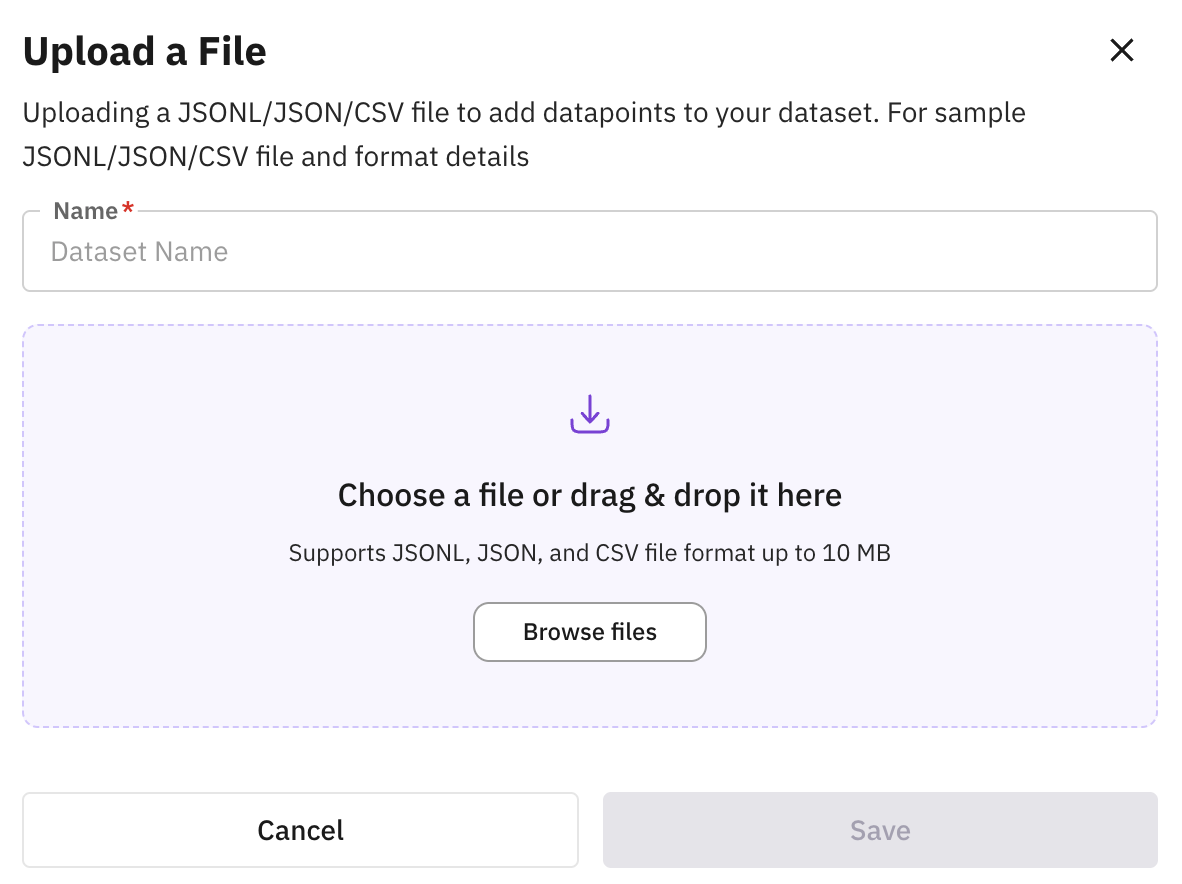
Upload File
Upload CSV, JSON or JSONL files.
Synthetic Data Generation
Synthetically generate data.
Manual Creation
Manually create dataset from scratch.
Import from Hugging Face
Import datasets directly from Hugging Face.
From Existing Dataset
Create a subset from an existing dataset.
Using SDK
Use SDK to import your data to Future AGI.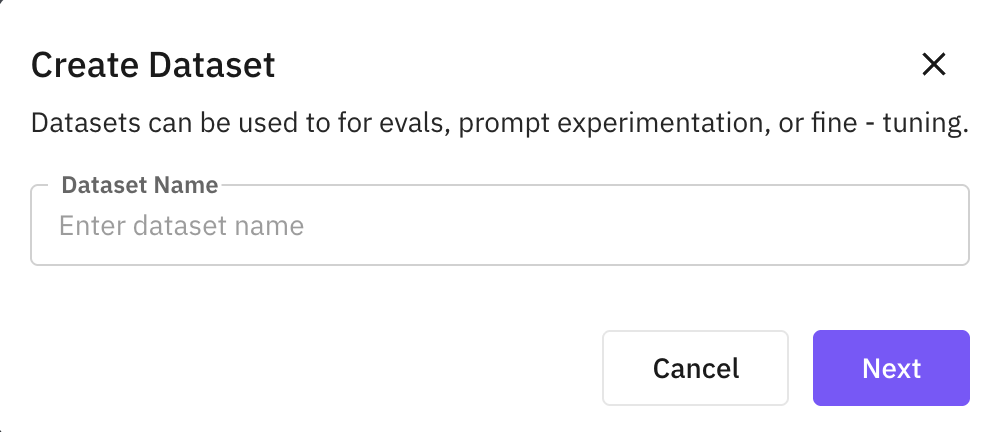
Add Rows via SDK
You will be greeted with a screen containing code snippet to add rows to your dataset.
Click here to access API Key and Secret Key.
Upload File
Using Synthetic Data Generation
Synthetically generate data and perform experimentations on it.Add Details
Provide basic details about the dataset you want to generate.
| Property | Description |
|---|---|
| Name | Name of the dataset |
| Knowledge Base (optional) | Select which you want to use. |
| Description | Describe the dataset you want to generate |
| Objective (optional) | Use case of the dataset |
| Pattern (optional) | Style, tone or behavioral traits of the generated dataset |
| No. of Rows | Row count of the generated dataset (min 10 rows) |
Add Column Properties
Define column types and properties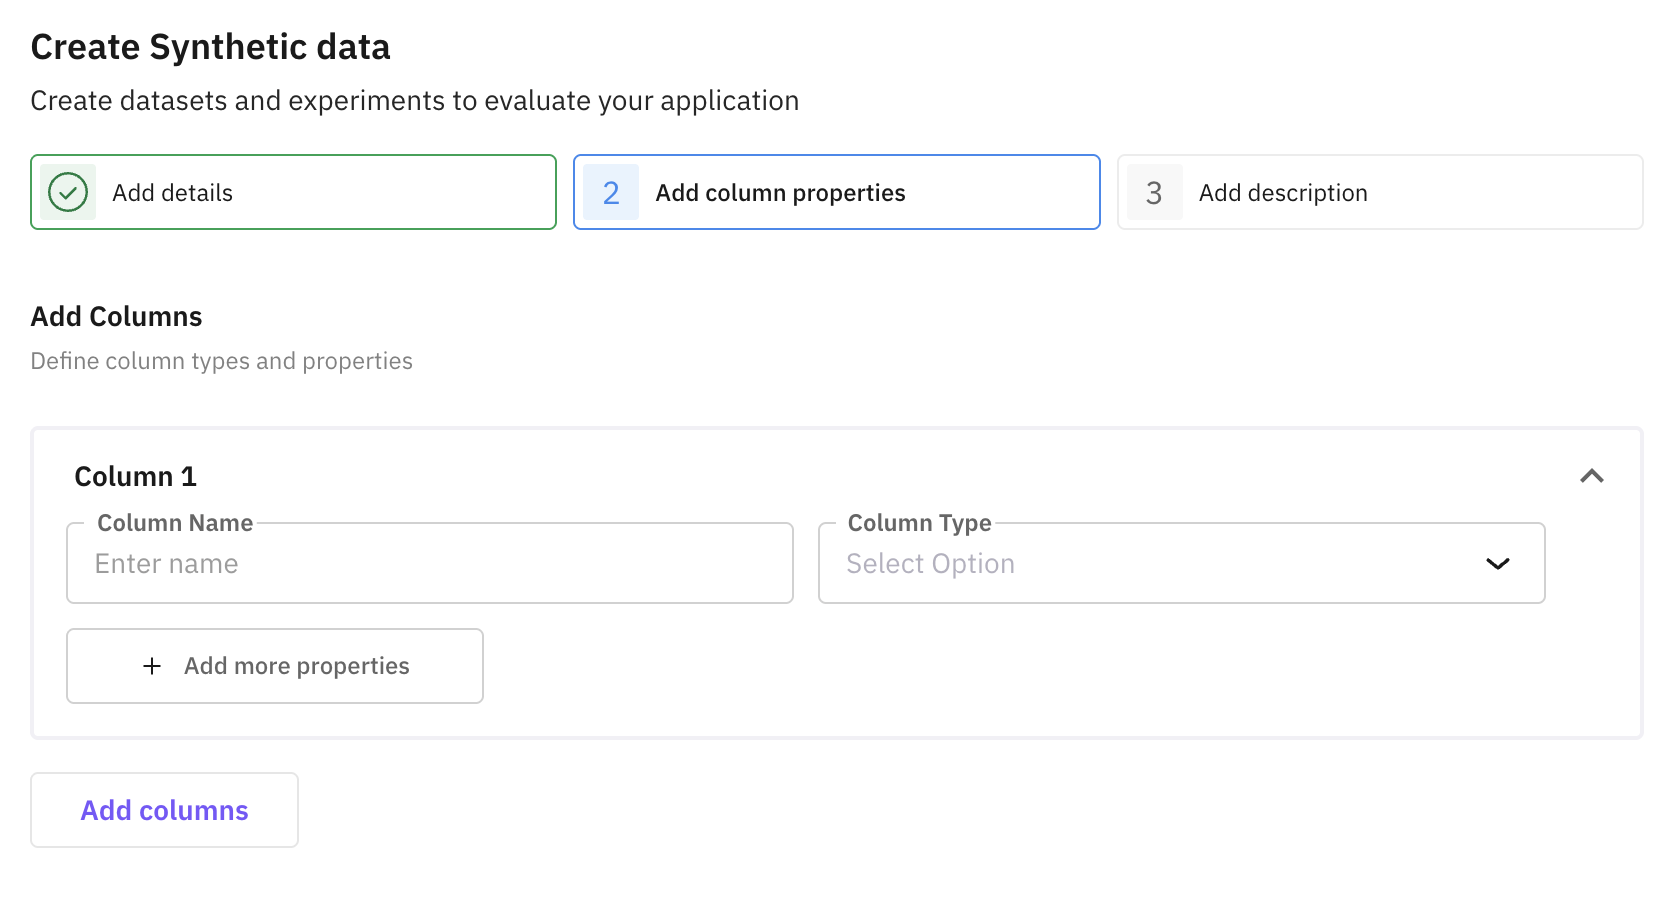
| Property | Description |
|---|---|
| Column Name | Name of the column |
| Column Type | Choose the type of the column (available types: text, boolean, integer, float, json, array, datetime) |
Add Description
Now add description for each column. Describe in detail what values you want in this column.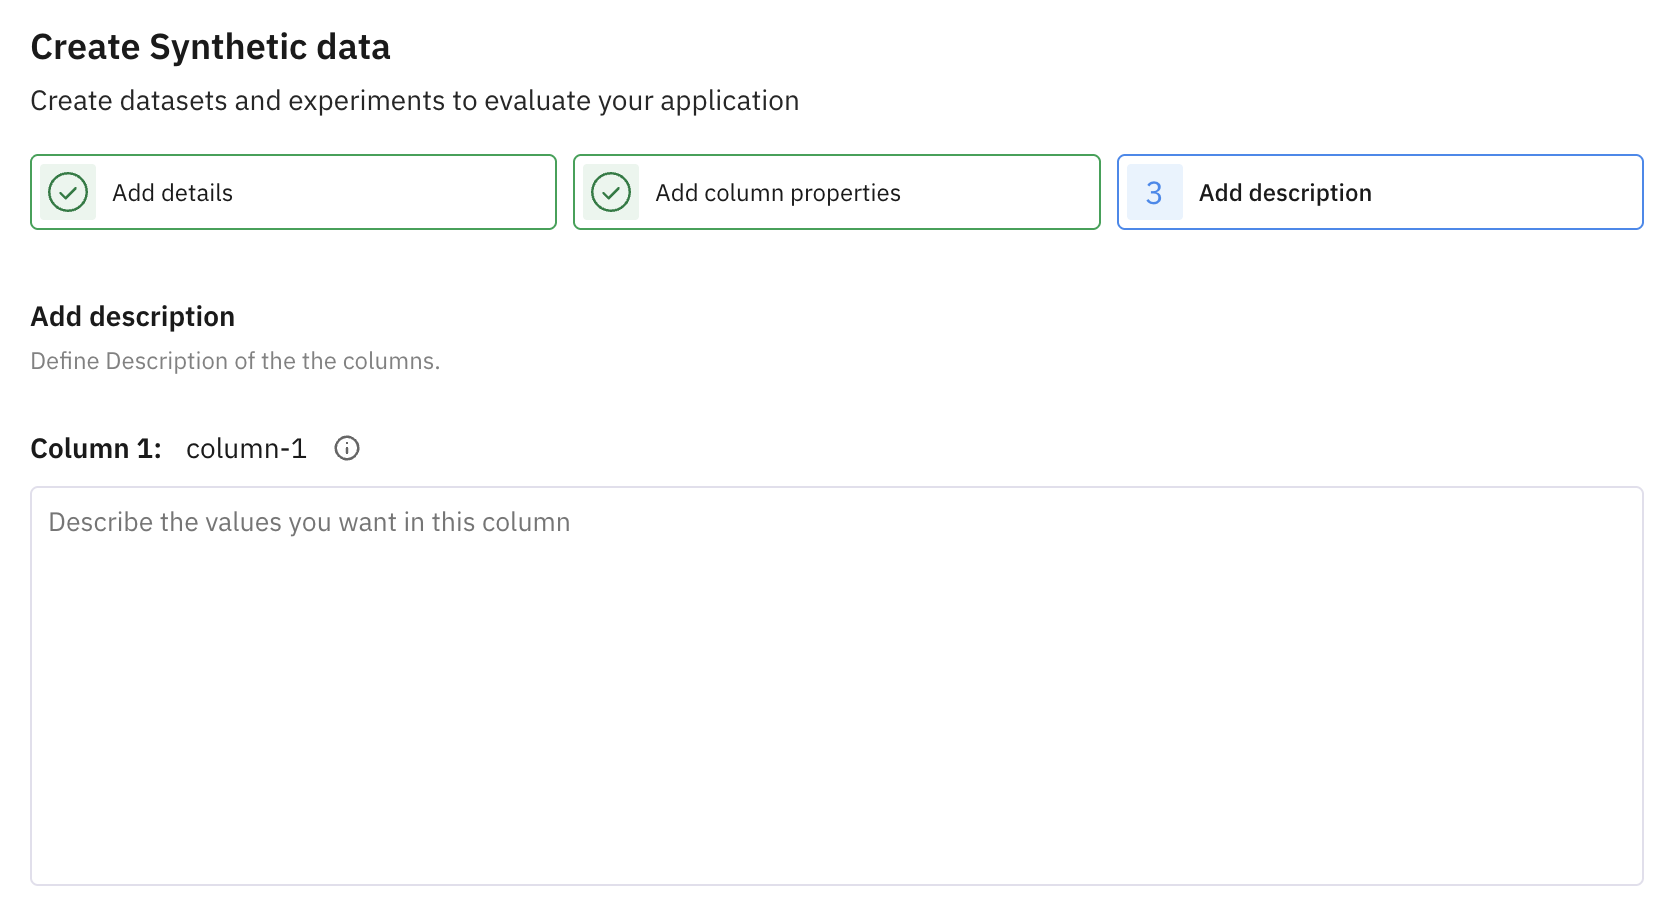
Create Dataset
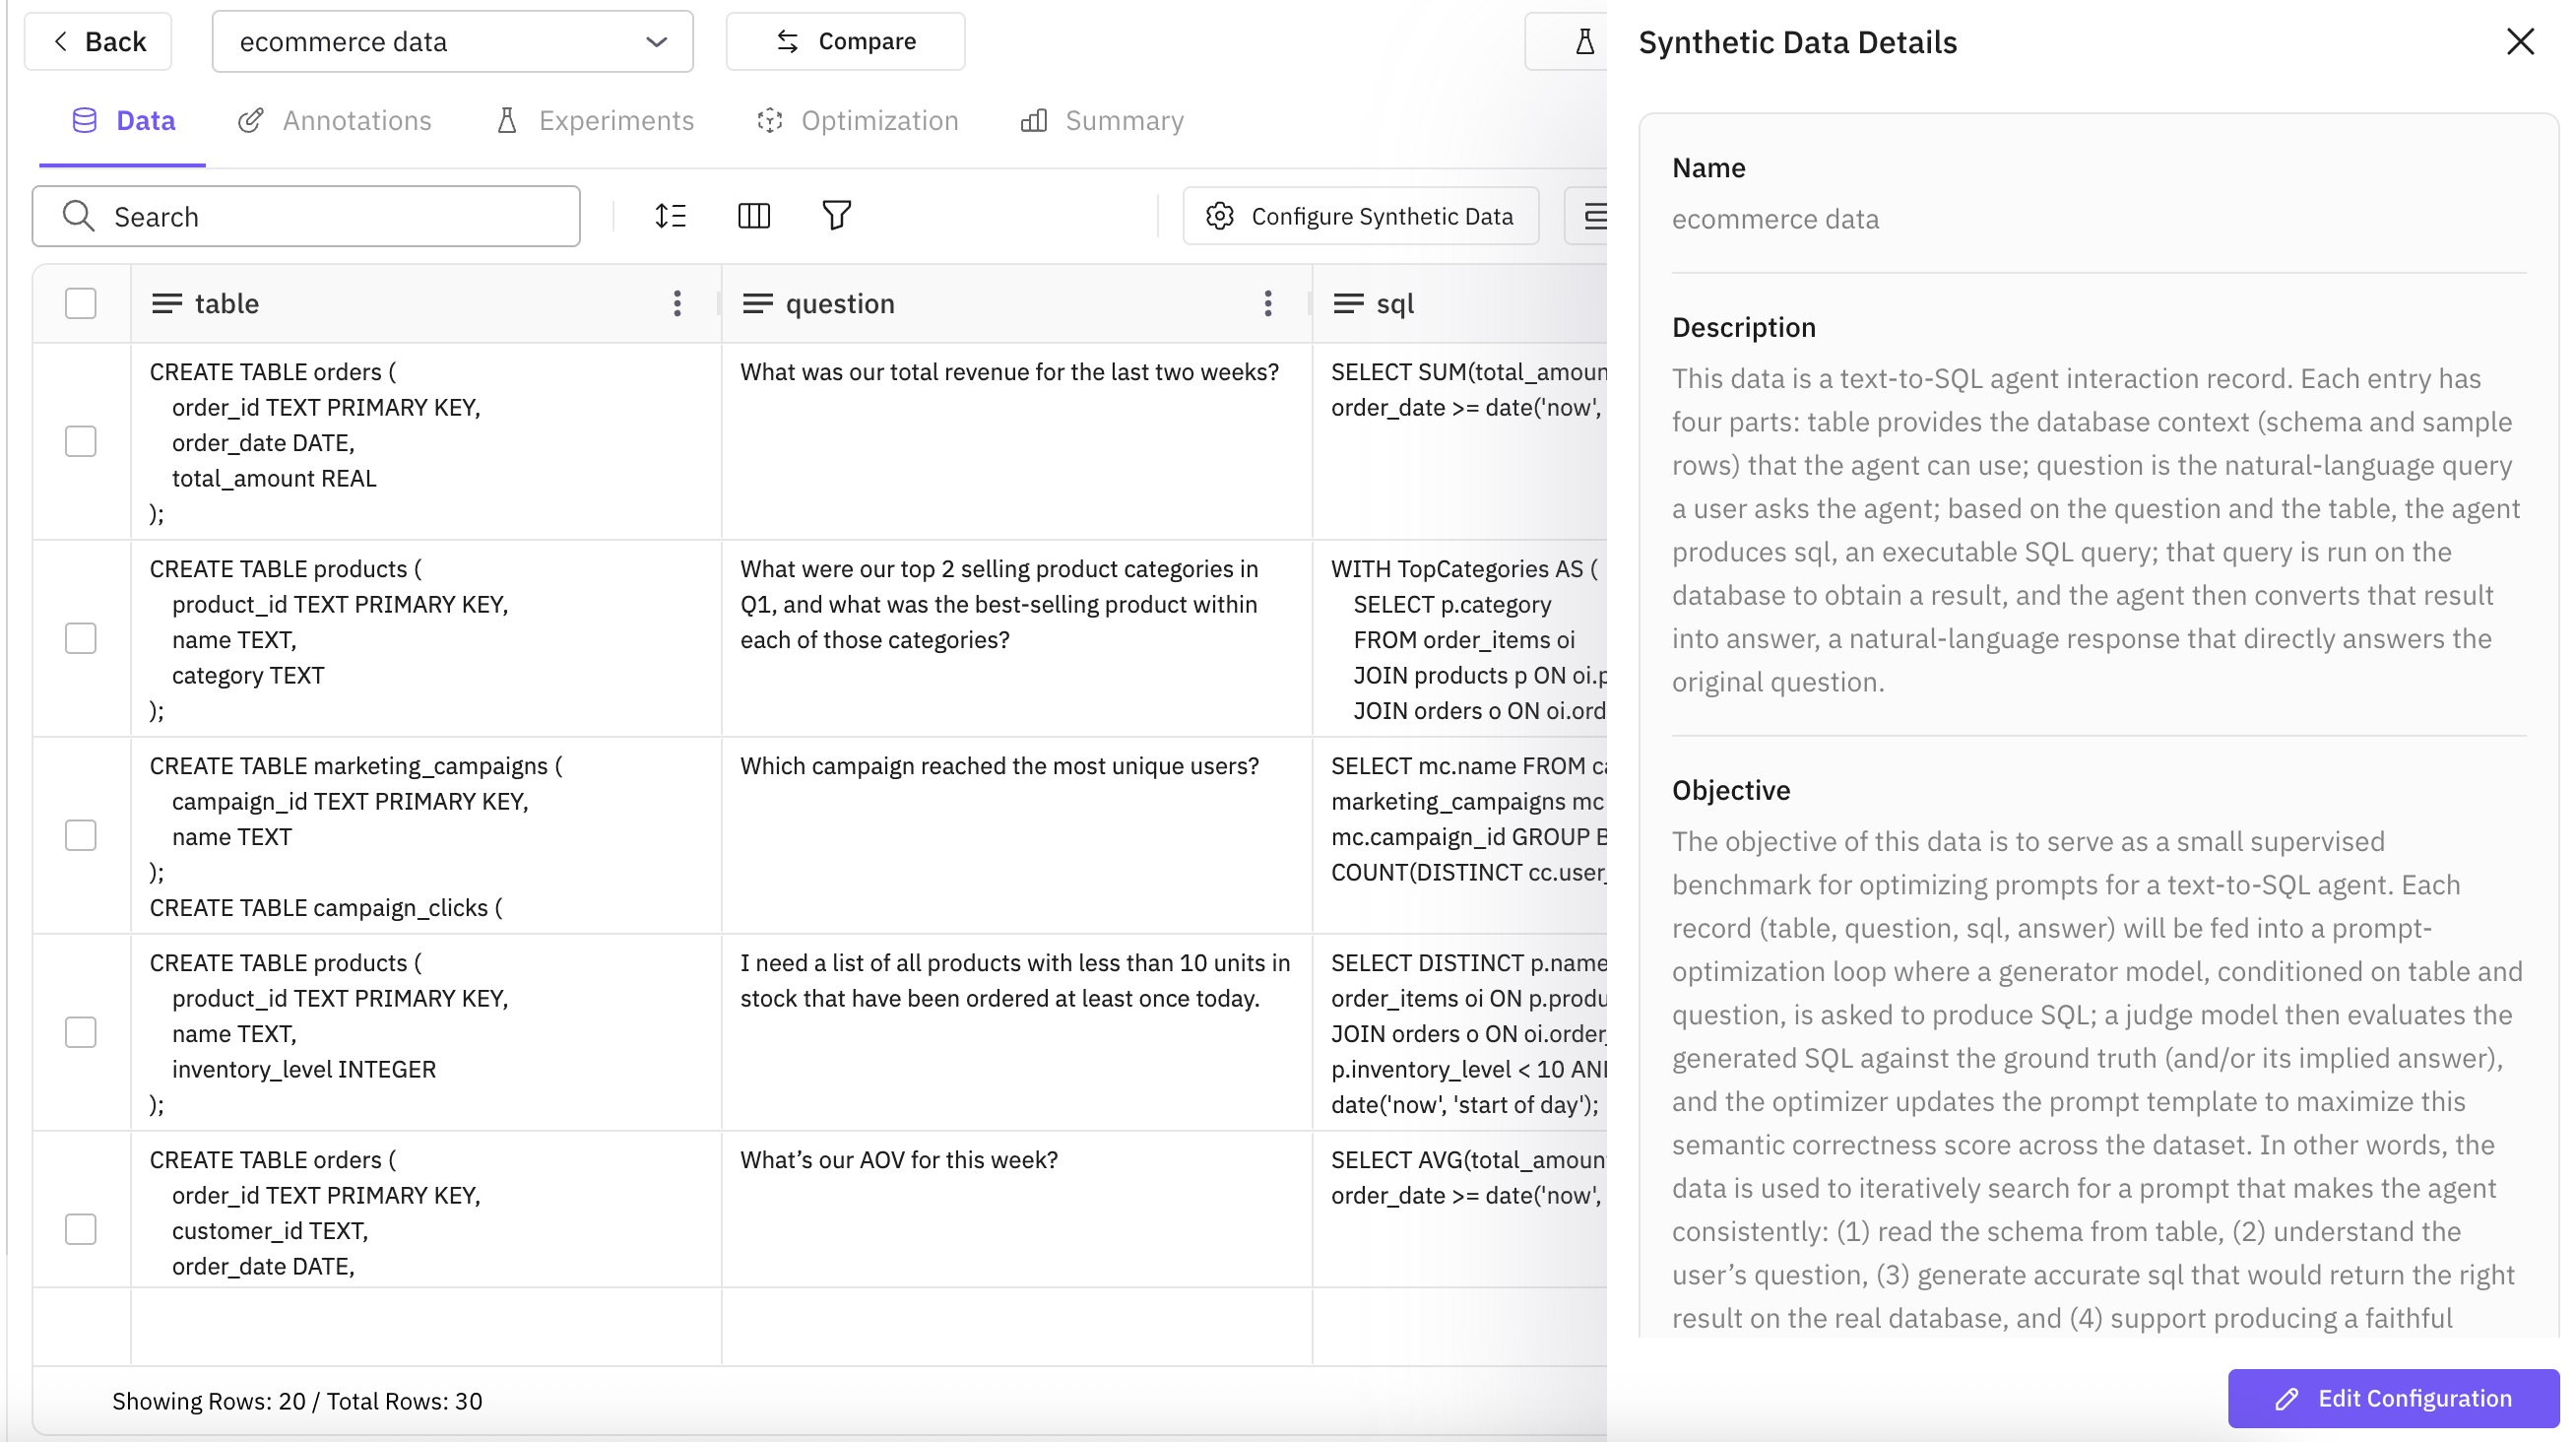
Click on “Create Dataset” button to generate the dataset. Your synthetic dataset will be generated in a few seconds and will be available in your dataset dashboard.If you are not satisfied with the generated dataset, you can click on “Configure Synthetic Data” button. It will allow you to edit the fields and generate the dataset again.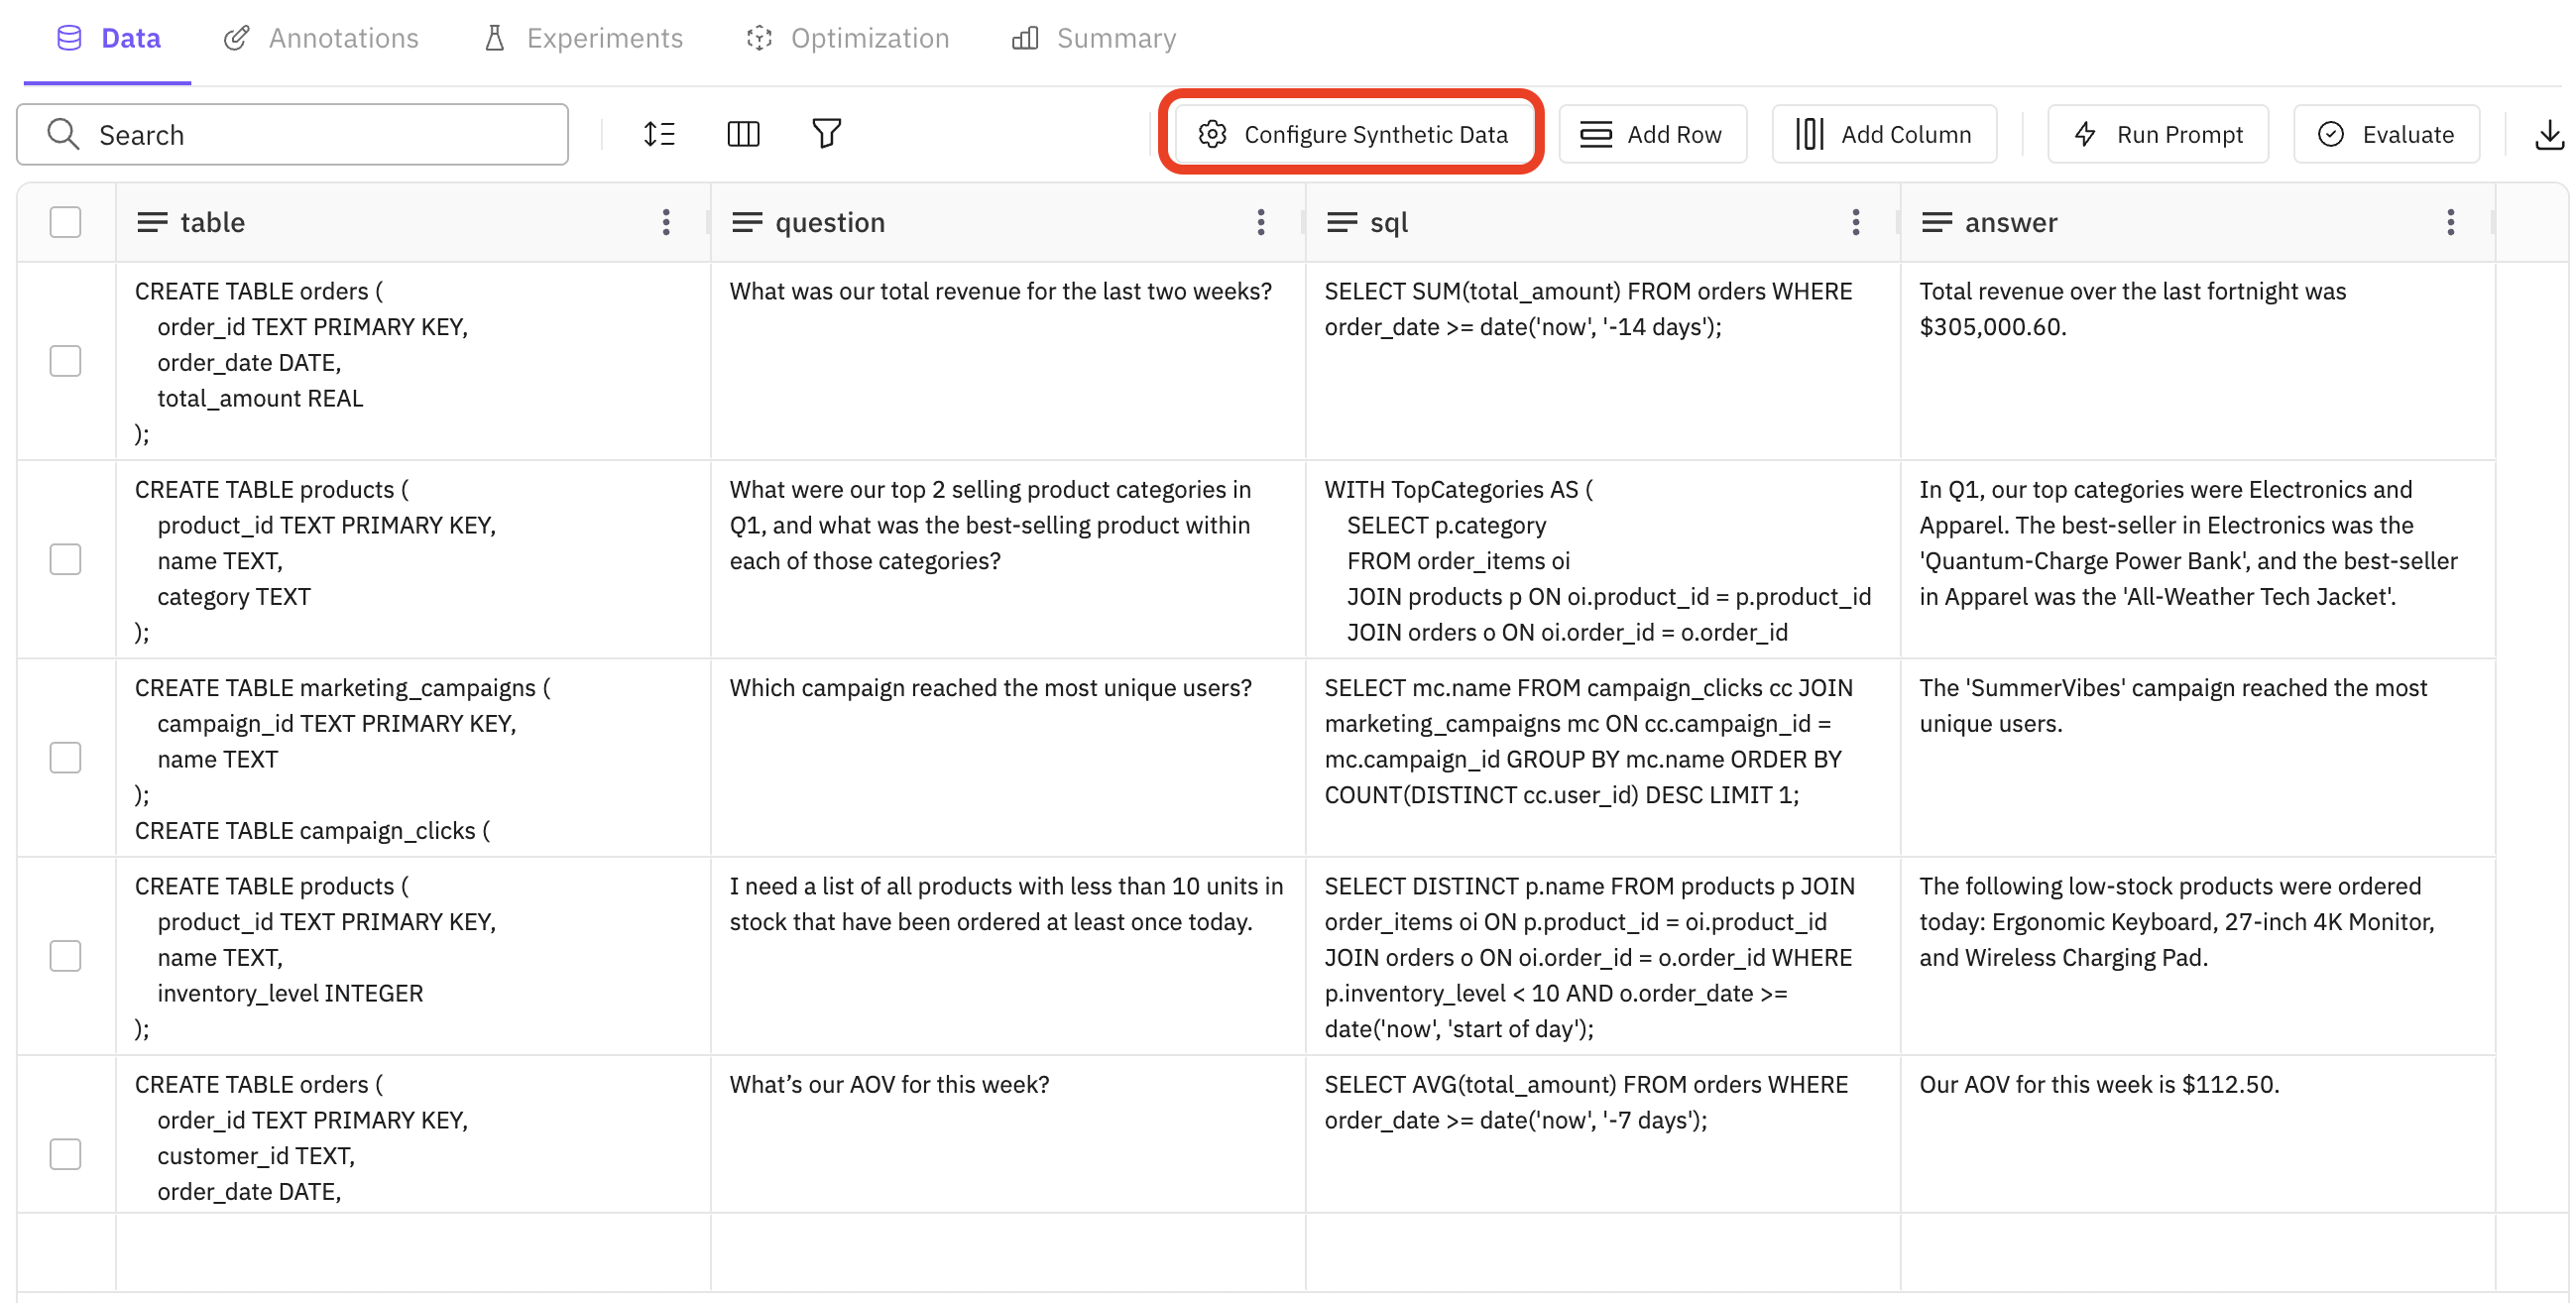
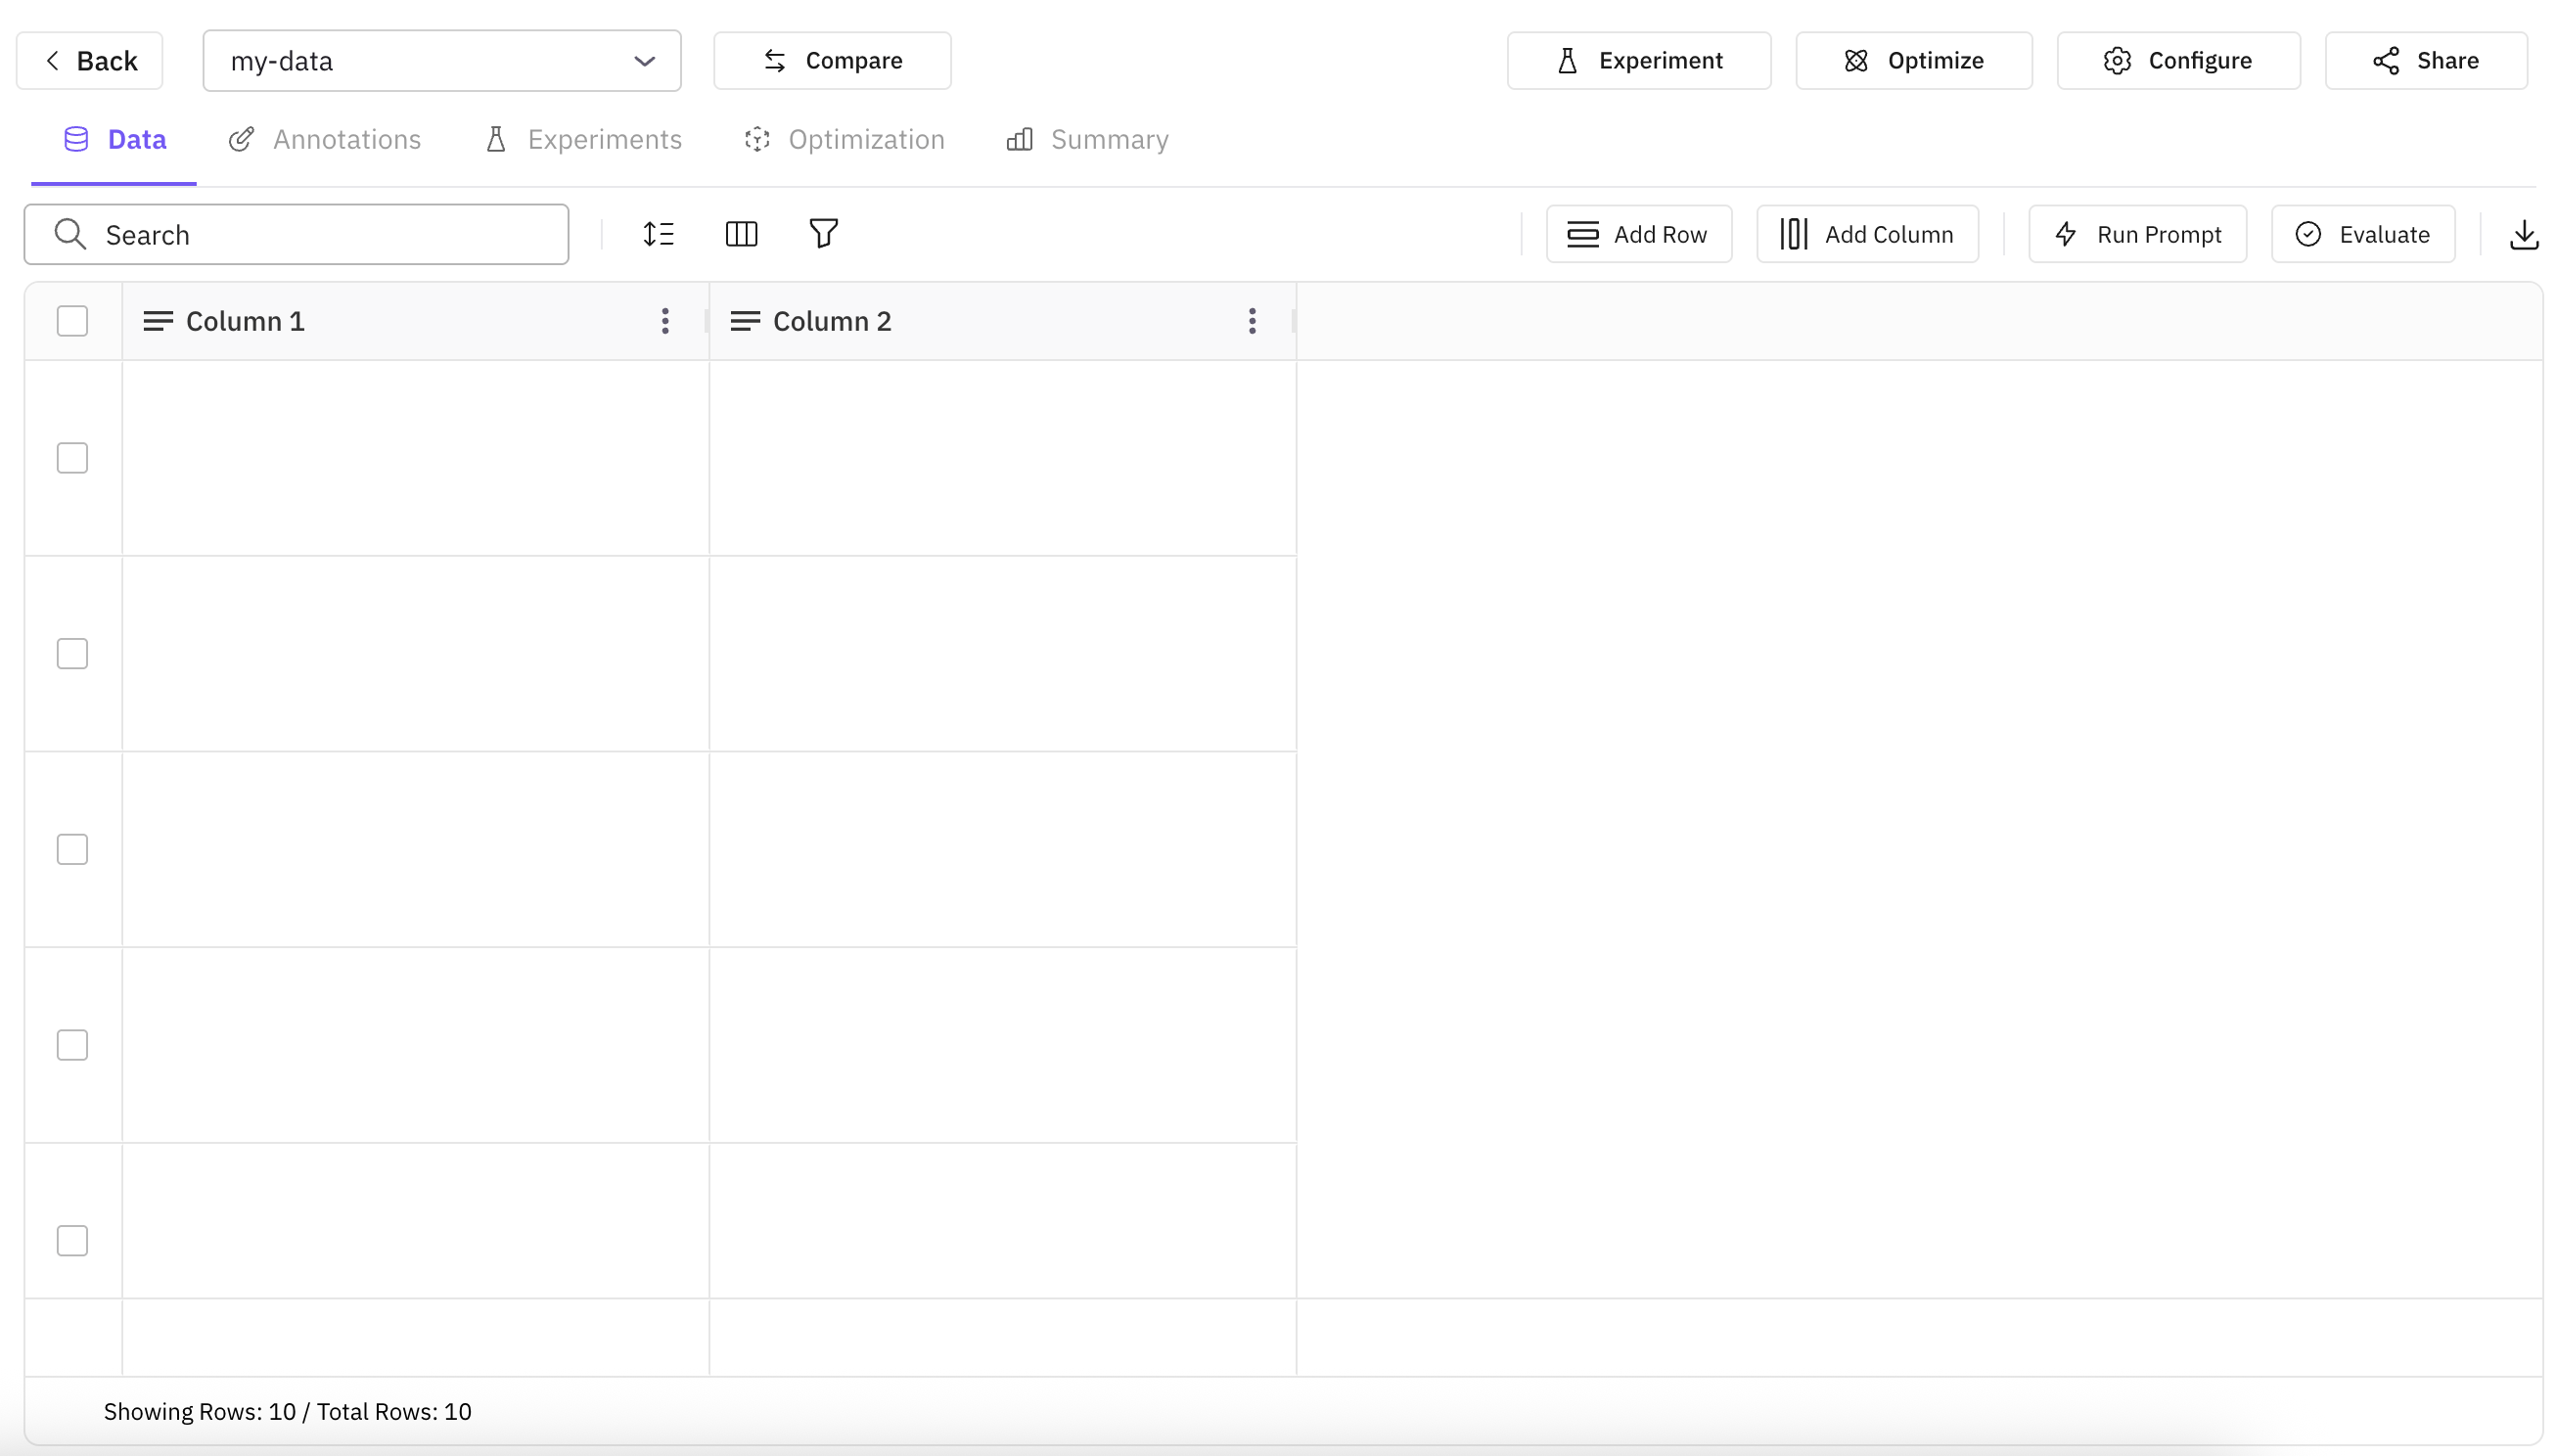
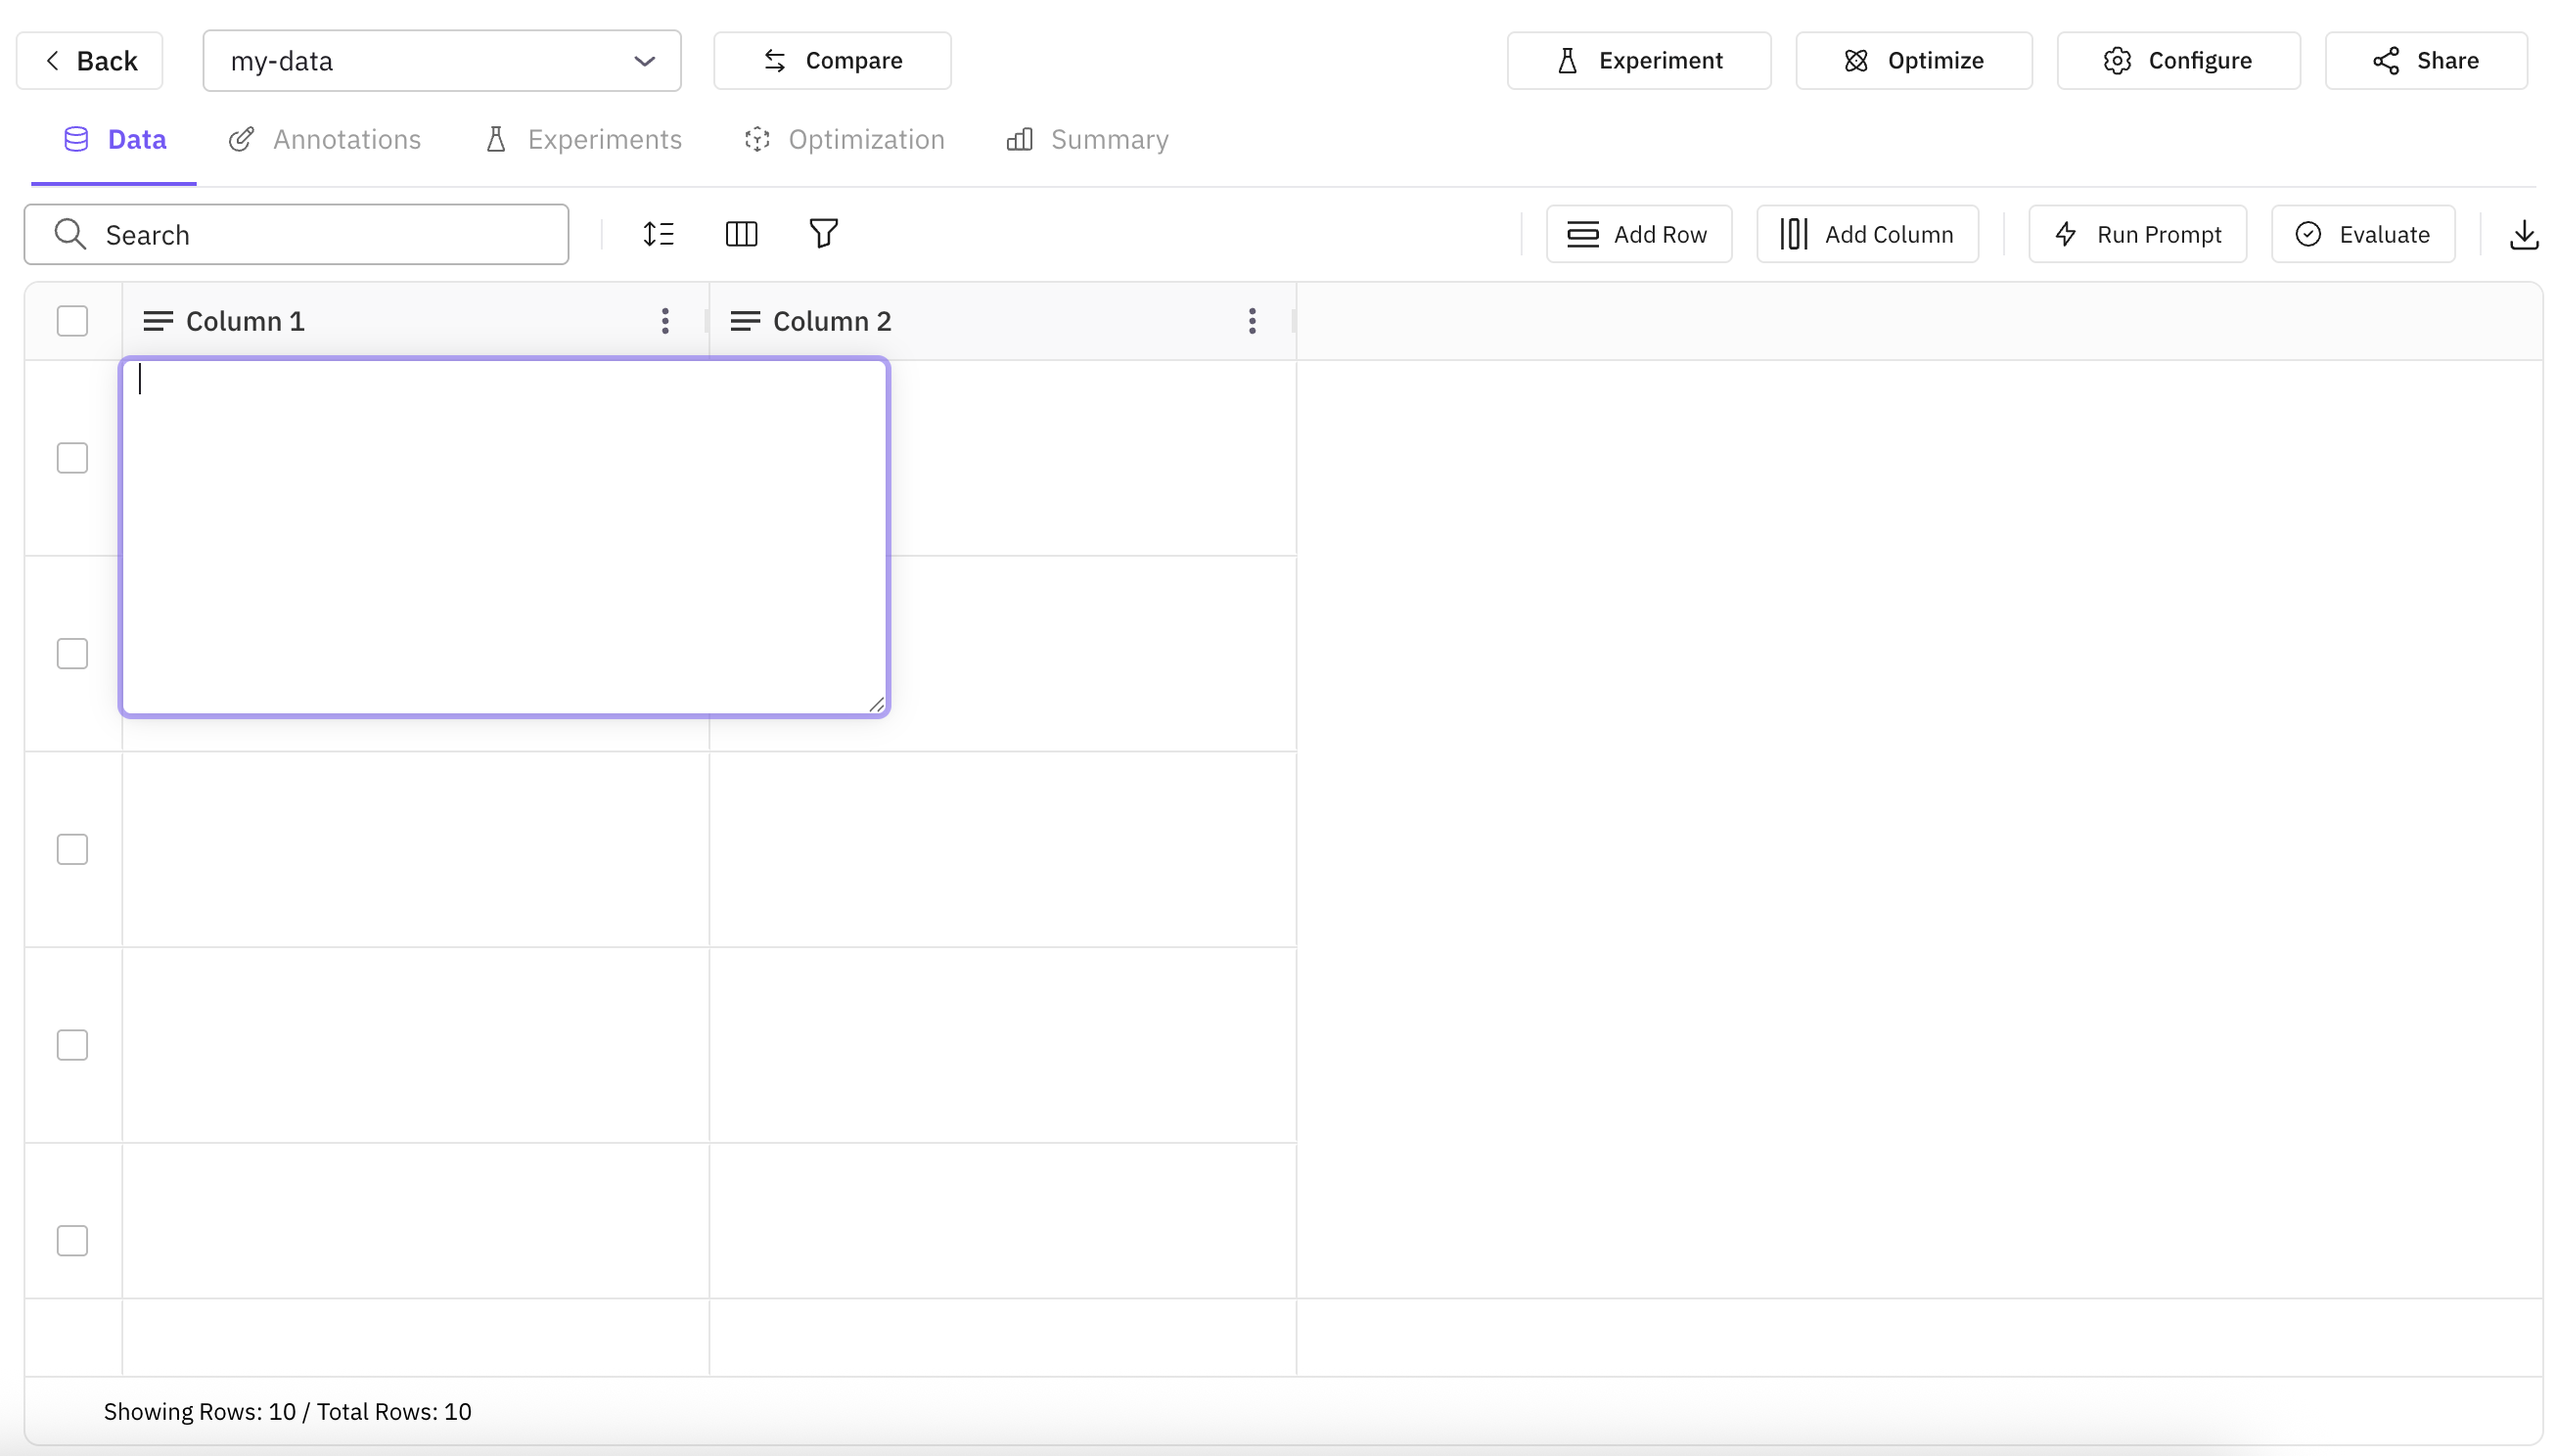
Manually Create Dataset
Manually create dataset from scratch.Provide Basic Details
To proceed with creating dataset manually from scratch, provdide the name you want to assign and the number of columns and rows you want.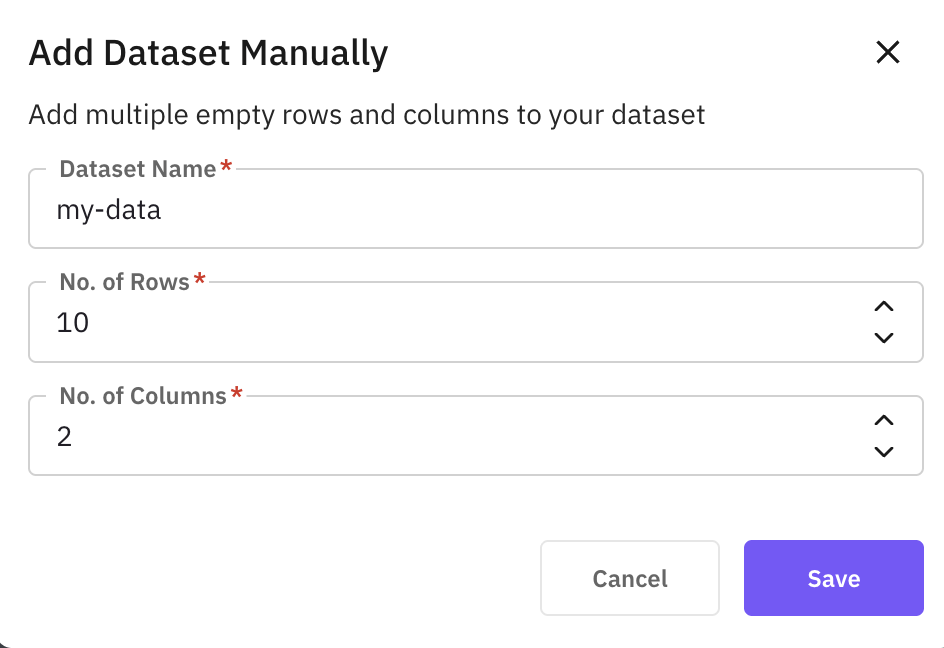
Importing from Hugging Face
Search Hugging Face Dataset
Search for the dataset you want to import from Hugging Face. You can even refine the search by using flters given on left side.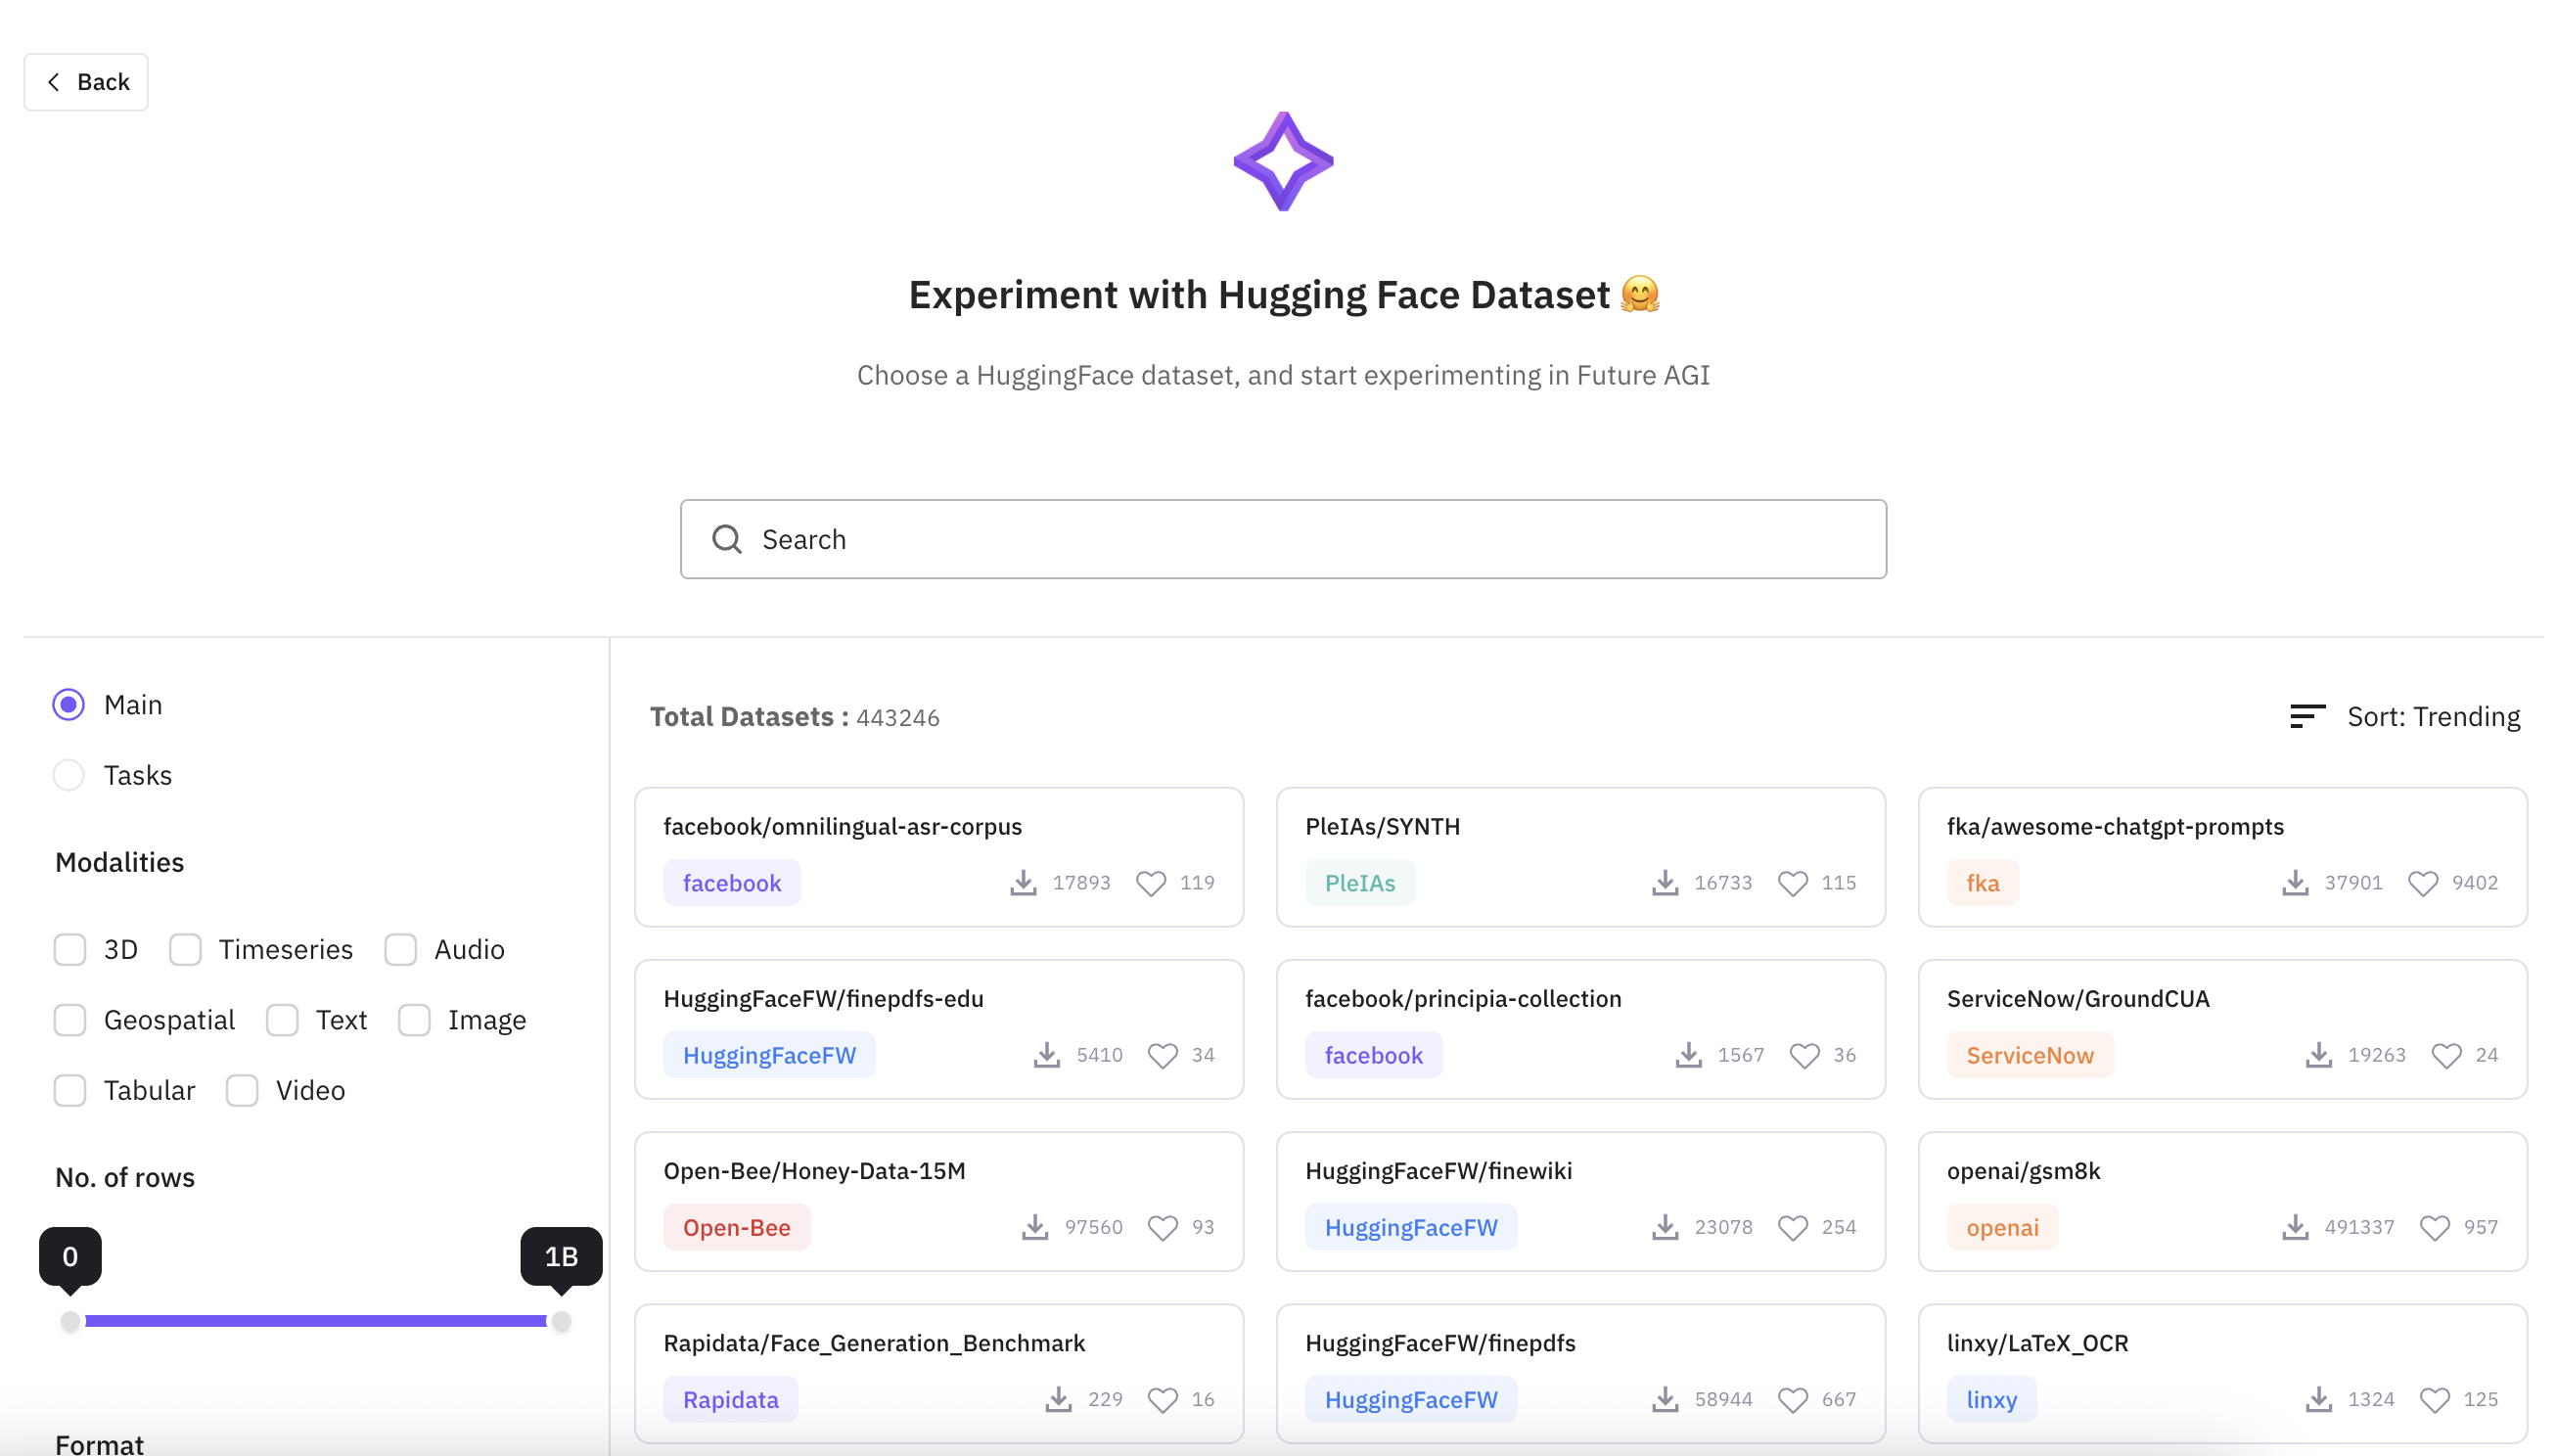
Import Dataset
Once you have selected the dataset you want to import, click on that dataset and it will open a panel where you can select what subset and split you want to import.You can also select the number of rows you want to import. By default, it will import all the rows.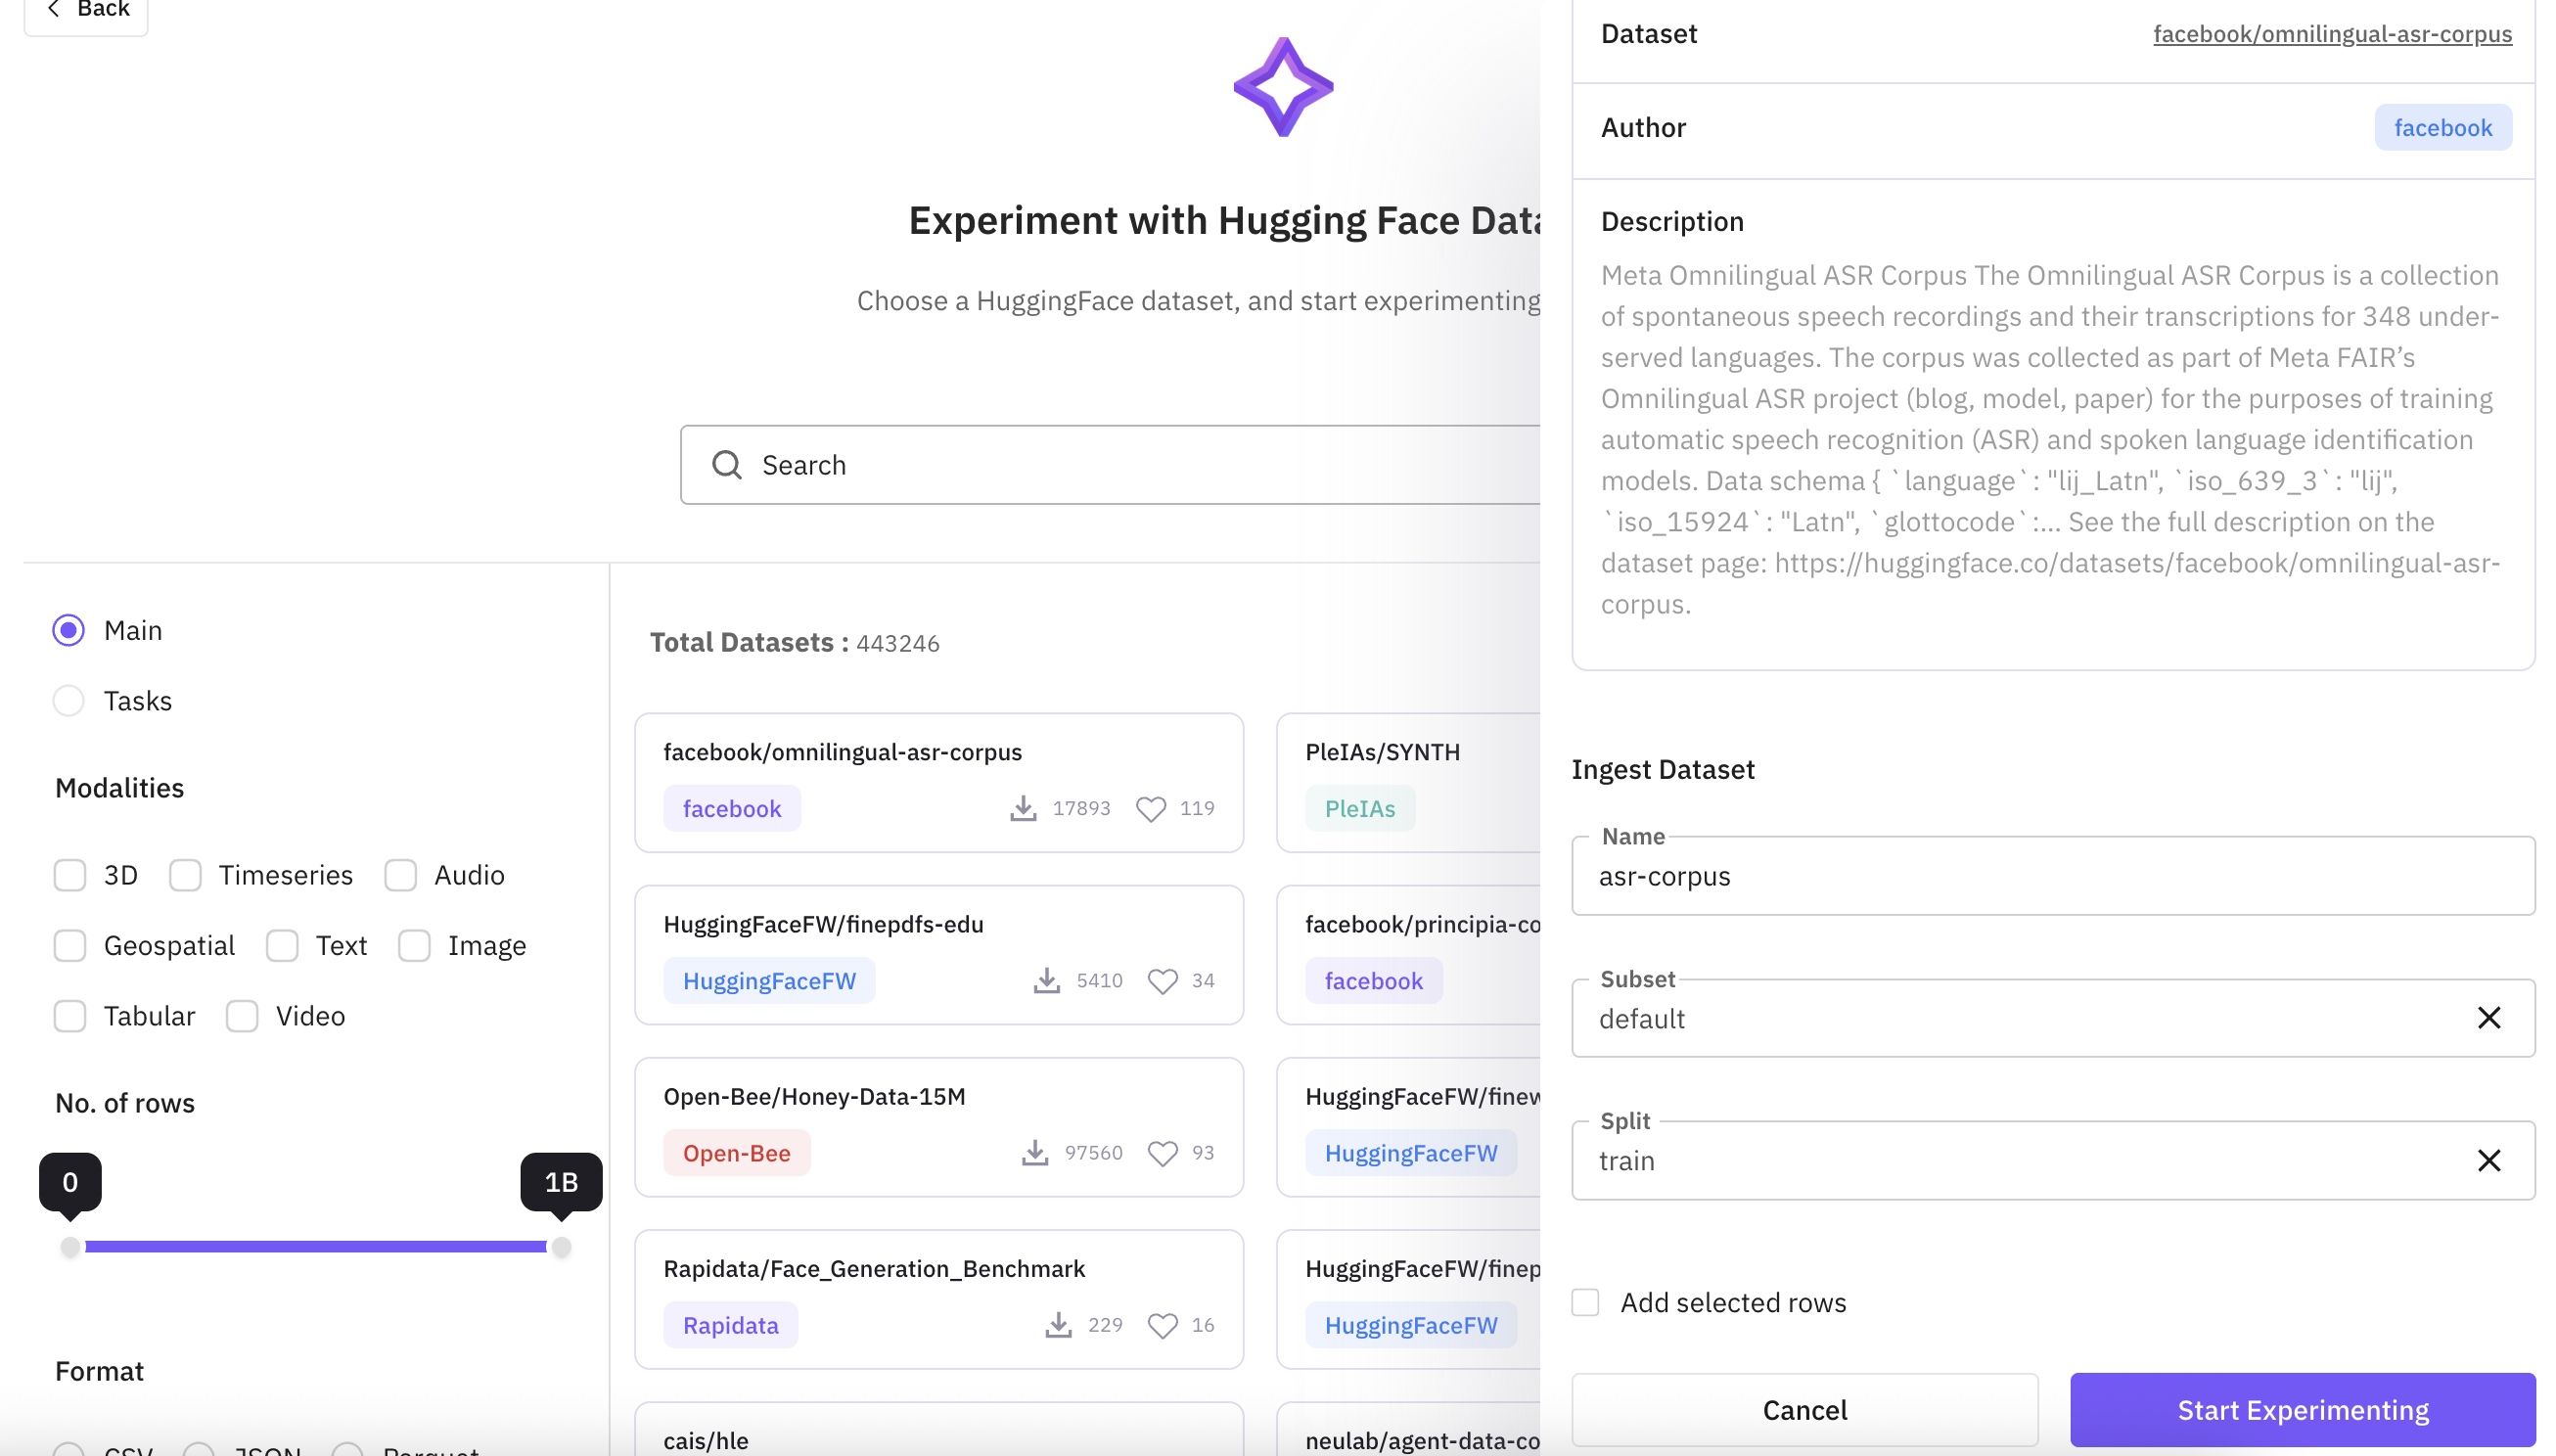
From Existing Dataset
You can create a subset from an existing dataset.Choose the existing dataset
Assign a name to this dataset and choose the existing dataset from the dropdown you want to create a subset from.
- Import Data: It will only import the original columns from the existing dataset.
- Import Data and Prompt Configuration: Along with original column, it will also import the prompt columns from that dataset.
Map the columns
You can choose what columns you want to use from that existing dataset and also you can assign a new name to the columns you want to use.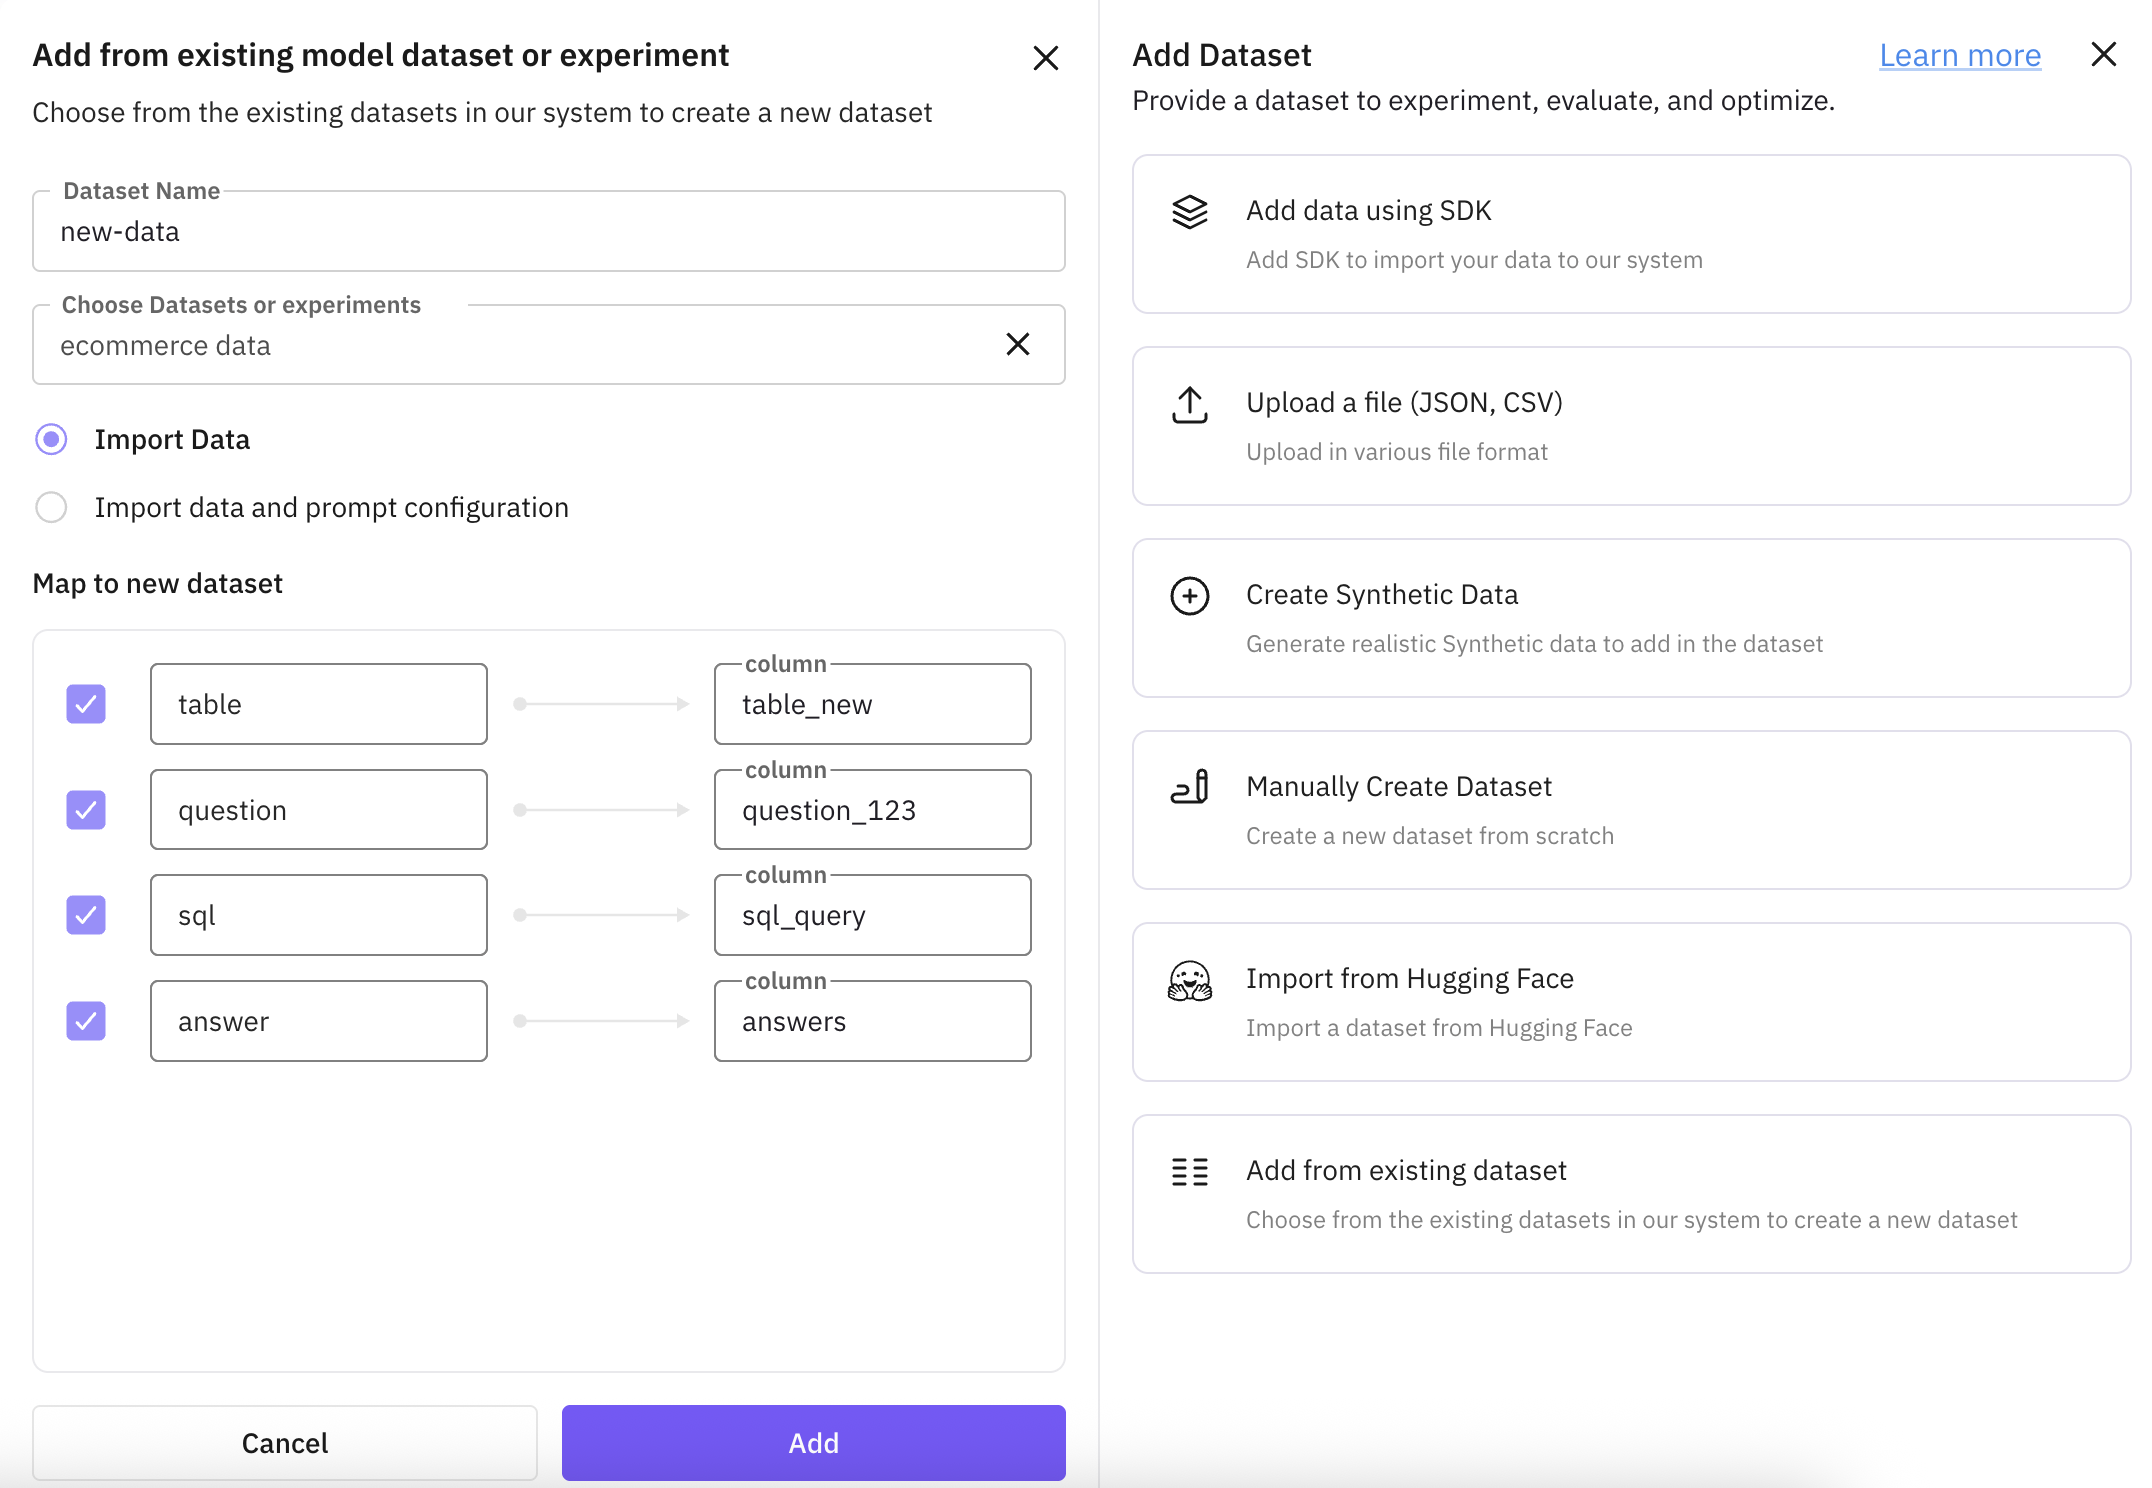
Import the dataset
Click on “Add” button and it will create a new dataset in your dataset dashboard.